Evaluating past mold remediation effectiveness means confirming that mold removal met recognized industry standards and that the moisture source driving growth was fully resolved. The gold standard for this process is Post-Remediation Verification, or PRV, as defined by the IICRC S520 standard and supported by EPA guidelines. Without independent PRV, you have no objective proof the job was done correctly. Skipping this step puts your health, your property value, and your insurance coverage at risk. This guide gives you the exact criteria, tools, and steps to assess whether past mold cleanup actually worked.
How to evaluate past mold remediation effectiveness: key standards
Successful mold remediation is defined by one outcome: returning the treated area to Condition 1, which the IICRC S520 standard describes as normal fungal ecology. That means mold spore types and concentrations inside the building match outdoor baseline levels, with no visible growth and no elevated moisture in building materials.
The IICRC S520 standard and EPA guidelines both require independent third-party clearance for any project exceeding 10 square feet. That threshold covers almost every residential mold job. The reason is simple: a contractor evaluating their own work has a financial conflict of interest.
Two distinct terms define this process, and confusing them is a costly mistake:
- Post-Remediation Evaluation (PRE): Conducted by the remediating contractor. This is an internal quality check, not a clearance document.
- Post-Remediation Verification (PRV): Conducted by an independent Indoor Environmental Professional (IEP) with no financial connection to the contractor. Only PRV meets IICRC S520 standards and provides legal and insurance protection.
Additional benchmarks that define a successful outcome include:
- Wood moisture content below 16% in structural materials
- Sustained indoor relative humidity between 30% and 50%
- No visible mold, staining, or musty odor in the remediated zone
- Physical removal of contaminated porous materials, not chemical treatment alone. The IICRC S520 stresses source removal as the primary method; encapsulation or chemical-only treatments do not meet the standard.
A clearance report is only meaningful when it ties results to specific criteria. A document that simply says “pass” without referencing methodology or acceptance thresholds carries no legal weight and tells you nothing about actual conditions.
What tools and preparation do you need for a mold remediation assessment?
Meaningful evaluation requires the right tools, the right professional, and the right timing. Showing up with a flashlight and a nose is not a mold remediation assessment. It is a guess.
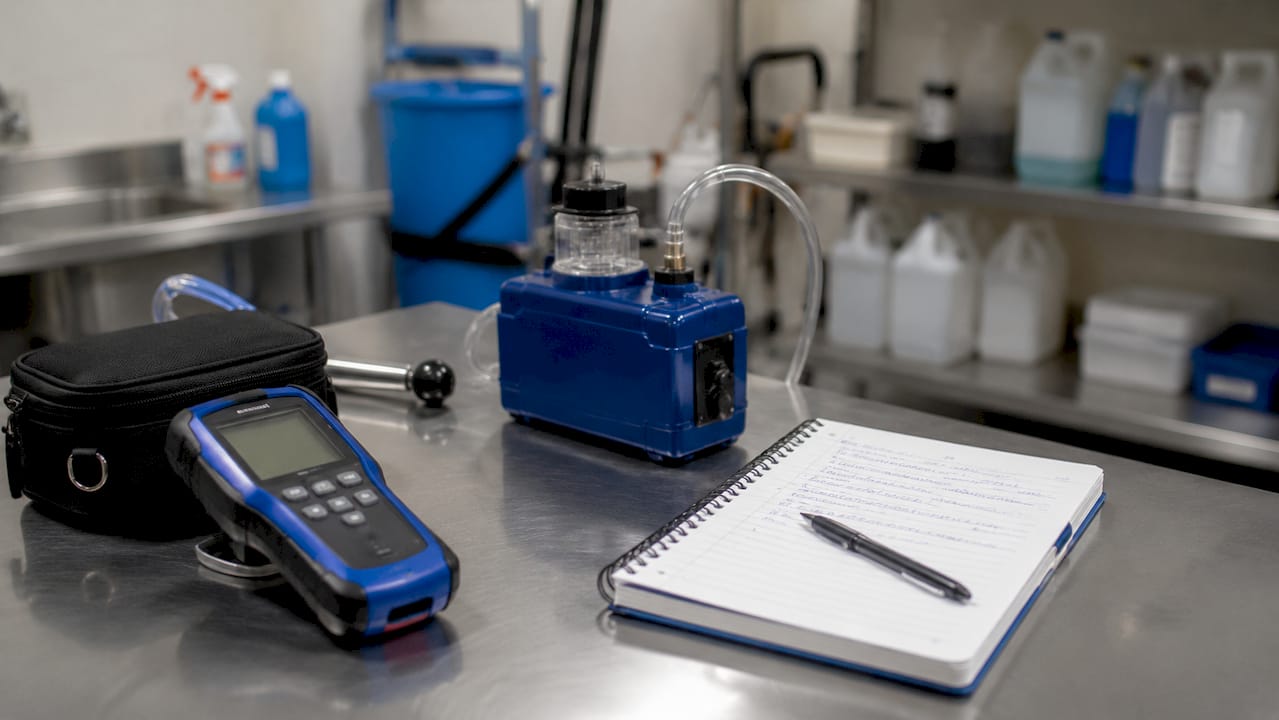
Essential tools for the evaluation
| Tool | Purpose |
|---|---|
| Moisture meter | Measures moisture content in wood, drywall, and concrete |
| Calibrated air sampling pump | Collects air samples for lab spore analysis |
| Surface test kits (tape lift or swab) | Identifies mold species on surfaces |
| Thermo-hygrometer | Measures indoor temperature and relative humidity |
| Borescope camera | Inspects wall cavities without destructive opening |
Documentation to gather before testing
Collect the original remediation scope of work, the contractor’s work plan, moisture logs from during remediation, any prior clearance reports, and before-and-after photos. This documentation tells you what the contractor promised to do. Testing then tells you whether they delivered.
Timing matters more than most homeowners realize
PRV occurs in two phases: Phase 1 happens 1–4 days after remediation and verifies immediate fungal elimination. Phase 2 happens 6 or more weeks later and confirms whole-building ecological stability. If you are evaluating a past remediation and no Phase 2 report exists, the long-term outcome was never confirmed.
Pro Tip: Always hire an IEP who has no business relationship with the original remediation contractor. Any financial connection between the tester and the contractor invalidates the independence of the PRV.
Step-by-step process for assessing past mold remediation
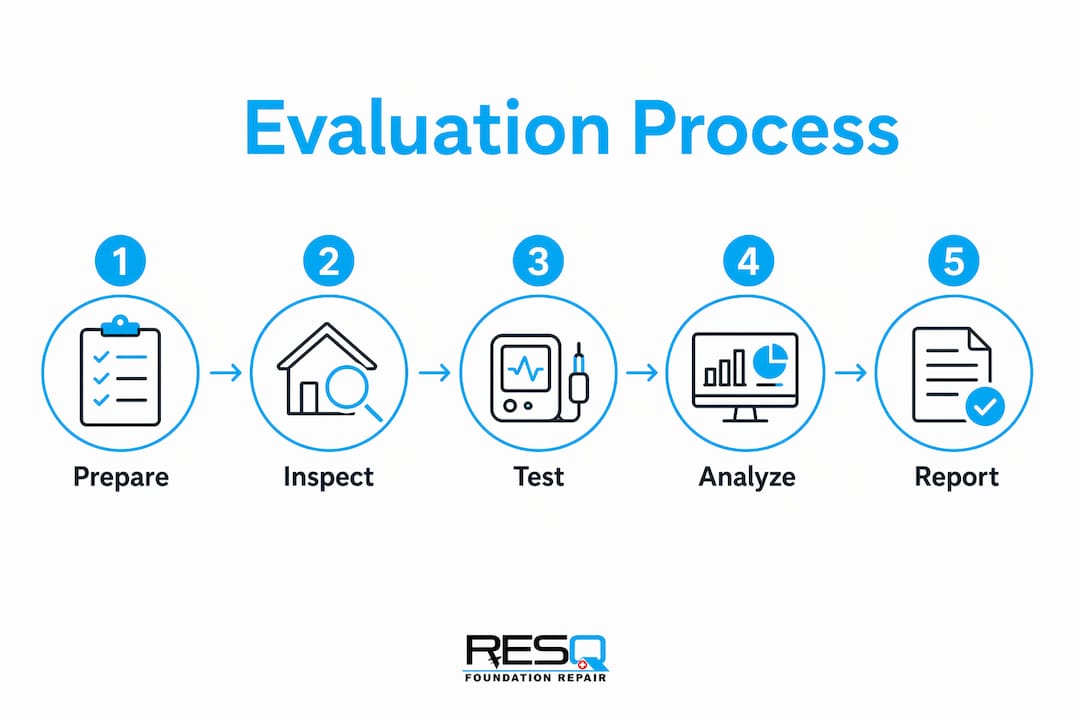
Follow this sequence whether you are hiring a professional to conduct the review or trying to understand what a proper assessment involves.
-
Review original documentation. Confirm the remediation scope addressed the moisture source, not just the visible mold. A job that removed mold without fixing the leak is guaranteed to fail long-term.
-
Conduct a visual inspection. Look for visible mold growth, water staining, efflorescence on concrete, and any musty odor. Odor alone is a red flag. Mold can be present behind walls or under flooring without being visible.
-
Test moisture content. Use a moisture meter on wood framing, subfloor, and drywall in and around the remediated zone. Readings above 16% in wood indicate conditions that still support mold growth.
-
Collect air samples. Gather samples inside the remediated zone, from an unaffected indoor area, and from outside the building. The outdoor sample is your baseline. Indoor spore counts should match or fall below that baseline.
-
Analyze lab results. A certified lab identifies spore types and concentrations. Elevated counts of Stachybotrys or Chaetomium inside the building are serious red flags. These species are strongly associated with chronic water damage and indicate the original remediation was incomplete.
-
Evaluate surface samples. Tape lift or swab samples from surfaces in the remediated zone confirm whether any mold colonies remain. Surface sampling complements air sampling but does not replace it.
-
Confirm clearance report criteria. The final report must reference IICRC S520 or equivalent standards, state the acceptance criteria used, and document all sample locations. A report without these elements is not a valid clearance.
Pro Tip: Clearance testing must occur while containment is still in place. Once containment is removed, cross-contamination from adjacent areas can invalidate both air and surface samples, making the results meaningless.
If testing reveals a failed clearance, the next step is identifying the root cause. Common causes include an unresolved moisture source, incomplete removal of contaminated materials, or inadequate HEPA vacuuming during remediation. The contractor is typically obligated to rework under the original contract before retesting begins.
How do you interpret mold remediation results?
A passing result has three characteristics: indoor spore counts match outdoor baseline levels, no visible mold or moisture is present, and moisture readings in building materials fall within acceptable ranges. All three criteria must be met. Meeting two out of three is not a pass.
Red flags that indicate remediation failure
- Presence of Stachybotrys or Chaetomium indoors at any concentration. These species do not occur naturally in normal indoor air and signal ongoing or past chronic moisture.
- Indoor spore counts significantly higher than outdoor baseline, even if no single species dominates.
- Moisture readings above 16% in wood or above 1% in concrete slabs.
- Visible dust debris or residue in the remediated zone, which suggests inadequate HEPA vacuuming.
- Any musty odor, which indicates active microbial volatile organic compound (MVOC) production.
Recurrence vs. new mold from a new water event
These two scenarios require different responses. Recurrence means the original mold was never fully eliminated or the moisture source was never fixed. New growth from a separate water event means the original remediation may have been successful, but a new problem has developed. Moisture mapping and reviewing maintenance records help distinguish between the two.
One critical limitation: clearance does not guarantee future mold prevention. If humidity rises above 60% or a new leak occurs, mold will return regardless of how thorough the original remediation was. Clearance is a snapshot in time, not a permanent warranty.
Understanding what remediated mold means for your property is especially important if you are buying or selling a home. A valid PRV report with documented clearance criteria adds measurable credibility to any disclosure.
How to maintain mold-free conditions after remediation
Passing a clearance test is the beginning of the work, not the end. Mold returns when moisture returns. Sustained prevention requires active management of indoor conditions.
- Keep indoor relative humidity between 30% and 50%. Humidity above 60% drives mold growth even without liquid water present. A thermo-hygrometer in each major area of the home gives you real-time data.
- Fix leaks within 24–48 hours. Mold colonization begins within 24–48 hours of moisture exposure. A slow drip under a sink is enough to restart a mold problem in a previously remediated space.
- Monitor crawl spaces and basements. These areas accumulate moisture faster than living spaces and are the most common source of recurring mold. Crawl space encapsulation and dedicated dehumidification systems are the most reliable long-term controls.
- Schedule routine visual inspections. Walk through crawl spaces, basements, and attics every three to six months. Look for new staining, condensation, or odor. Early detection prevents a small moisture event from becoming a full remediation job.
- Maintain good indoor air quality. Proper ventilation, clean HVAC filters, and controlled humidity work together to keep mold spore counts at normal levels.
Reducing mold remediation costs long-term comes down to preventing recurrence. Every dollar spent on humidity control and routine inspection saves multiples in future remediation fees.
Key Takeaways
Independent Post-Remediation Verification by a third-party IEP, aligned with IICRC S520 and EPA guidelines, is the only objective method to confirm mold remediation was successful.
| Point | Details |
|---|---|
| PRV vs. PRE distinction | Only independent PRV by an unrelated IEP meets IICRC S520 standards and provides legal protection. |
| Clearance criteria | A valid pass requires matched spore counts, moisture below 16% in wood, and no visible mold or odor. |
| Testing timing | Phase 1 PRV occurs 1–4 days post-remediation; Phase 2 confirms stability 6 or more weeks later. |
| Containment integrity | Clearance sampling must happen before containment is removed to prevent cross-contamination. |
| Ongoing prevention | Sustained indoor humidity between 30% and 50% is the single most effective long-term mold control. |
Why independent verification is the only standard worth trusting
Homeowners consistently underestimate how easy it is for a remediation contractor to produce a document that looks like a clearance report but means nothing. I have seen reports that list sample locations without specifying acceptance criteria, reports that reference no standard at all, and reports signed by the same company that did the remediation work. None of those are valid clearances.
The independent verification cost of $300–$600 is the most underutilized protection in residential real estate. That amount is negligible compared to the cost of a failed remediation discovered during a home sale or, worse, after a family member develops respiratory symptoms.
The industry is moving in the right direction. The 2026 updates to IICRC standards place greater emphasis on documentation requirements and IEP independence, which gives homeowners stronger grounds to demand proper clearance. But standards only protect you if you know to ask for them.
My strongest advice: never accept a contractor’s internal evaluation as proof of success. Demand a Phase 1 PRV from an independent IEP before containment comes down. If the contractor resists, that resistance tells you something important about the quality of the work.
— Kayle
Foundationresq’s professional mold verification services
Foundationresq provides certified Post-Remediation Verification testing aligned with IICRC S520 and EPA guidelines, giving homeowners and property managers the independent documentation they need.
Beyond testing, Foundationresq offers crawl space encapsulation, dedicated crawl space dehumidification, and basement waterproofing to address the moisture conditions that drive mold recurrence. Every service comes with documented reports suitable for insurance claims and real estate transactions. Explore the full range of mold and moisture solutions or contact Foundationresq directly for a personalized evaluation plan tailored to your property’s history and current conditions.
FAQ
What is Post-Remediation Verification?
Post-Remediation Verification (PRV) is an independent assessment conducted by a third-party Indoor Environmental Professional to confirm mold remediation met IICRC S520 standards. It differs from a contractor’s internal evaluation and is the only form of clearance recognized for legal and insurance purposes.
How long after remediation should testing occur?
Phase 1 testing occurs 1–4 days after remediation to verify immediate fungal elimination. Phase 2 testing, conducted 6 or more weeks later, confirms long-term ecological stability throughout the building.
What spore types indicate a failed remediation?
The presence of Stachybotrys or Chaetomium indoors at any concentration indicates a failed or incomplete remediation. These species are associated with chronic water damage and do not appear in normal indoor air.
Can mold come back after a successful clearance?
Yes. A clearance report is a snapshot in time, not a permanent guarantee. If indoor humidity rises above 60% or a new water intrusion occurs, mold will return regardless of how thorough the original remediation was.
Does chemical treatment alone count as valid mold remediation?
No. The IICRC S520 standard requires physical removal of contaminated porous materials. Chemical treatments or encapsulation applied without source removal do not meet the standard and will not produce a valid clearance result.
Recommended
- What Does the Mold Remediation Process Involve? – Tallahassee Foundation Repair | Foundation ResQ
- What Does Remediated Mold Mean for Buyers? – Tallahassee Foundation Repair | Foundation ResQ
- How Homeowners Can Reduce Mold Remediation Costs – Tallahassee Foundation Repair | Foundation ResQ
- Mold Remediation Costs Uncovered: A Homeowner’s Guide – Tallahassee Foundation Repair | Foundation ResQ